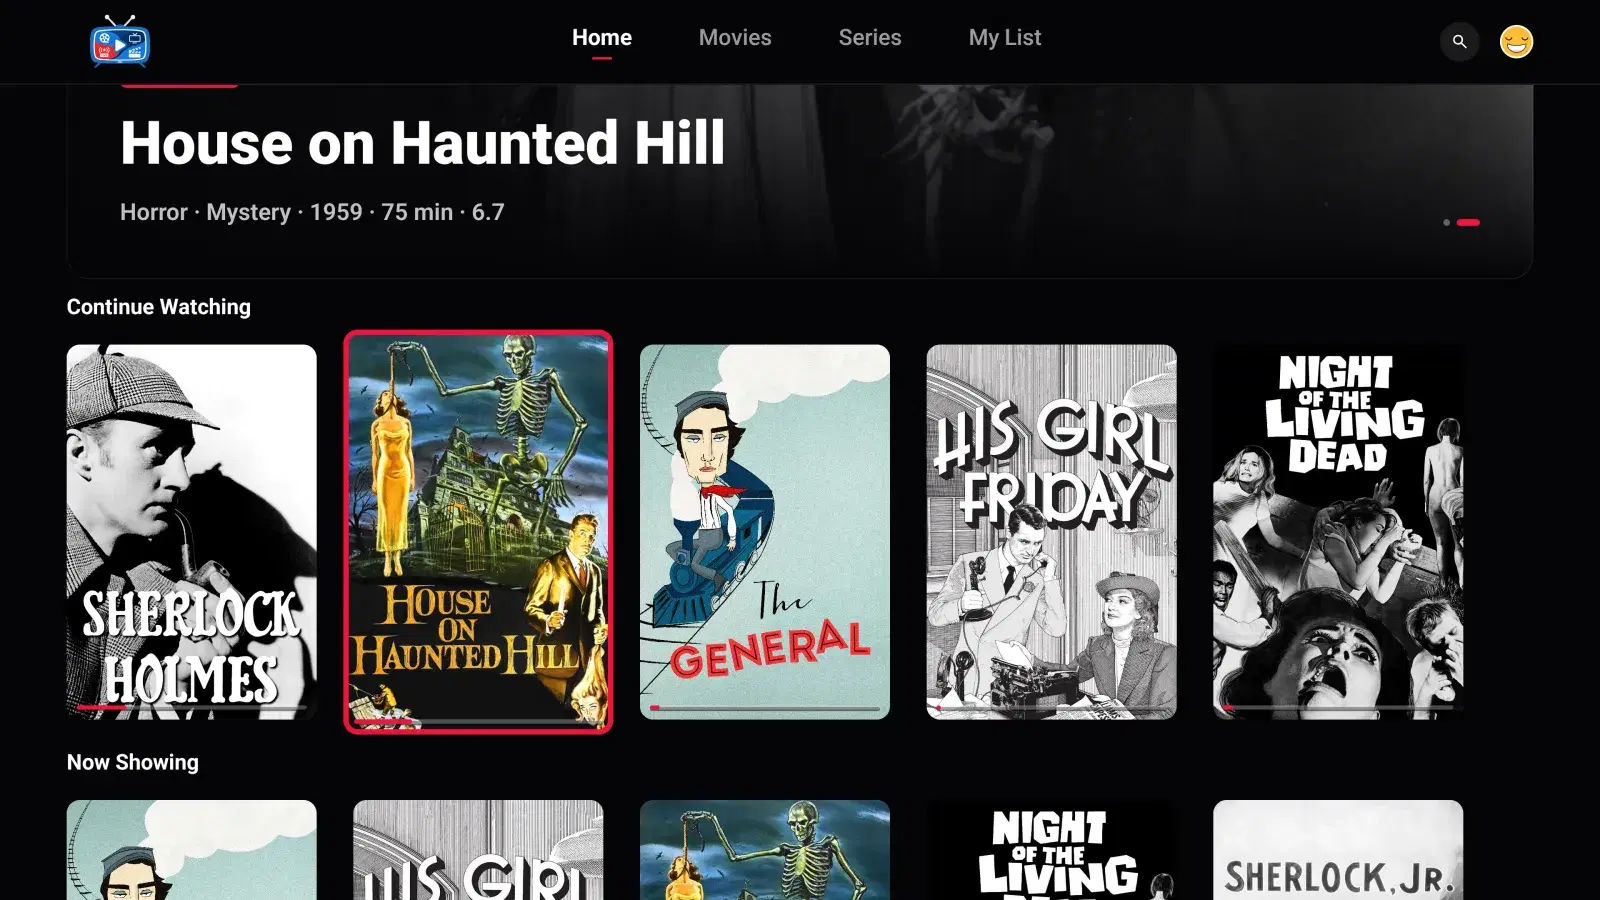
Docker is the easiest way to run Jellyfin on a NAS or a home PC. You write one short docker-compose.yml that points the official jellyfin/jellyfin image at your media, start it with one command, and finish setup in your browser on port 8096. It takes about twenty minutes.
What you need
- A machine that stays on: a NAS that can run containers, a Linux box, or a Windows or Mac computer with Docker Desktop.
- Your media in folders, ideally split into Movies and Shows, with one folder per title.
- Basic comfort with a terminal, or a NAS container app that can import a compose file.
New to all this? Read what Jellyfin is and how it works first.
How to install Jellyfin with Docker, step by step
- Install DockerOn Linux, install Docker Engine with the Compose plugin. On Windows or a Mac, install Docker Desktop. On a NAS, install the container app from its app center; most current Synology, QNAP, UGREEN, TrueNAS and Unraid systems can run Docker containers.
- Create folders and find your user IDCreate a folder for Jellyfin's configuration and one for its cache, and note where your movies and shows live. Run
idin a terminal to get your user and group IDs (often1000:1000) so Jellyfin runs as you rather than as root. - Write docker-compose.ymlIn a new folder, create docker-compose.yml using the file below. Replace the /path/to/ placeholders with your real folders and 1000:1000 with your IDs. Keep the right-hand side of each volume (/config, /cache, /media) exactly as written.
- Start the containerFrom that folder, run
docker compose up -d. Docker downloads the officialjellyfin/jellyfinimage and starts it in the background. - Run the setup wizardIn a browser, open
http://<server-ip>:8096(http://localhost:8096on the same machine). Choose a language, create the administrator account with a strong password, set the metadata language, and leave automatic port mapping off. - Add your librariesIn the wizard, or later in the dashboard, add a Movies library and a Shows library. Inside the container your files are under
/media, so browse to/media/Movies,/media/Showsand so on. Jellyfin scans them and fetches artwork.
The Jellyfin docker-compose.yml
This is the official example from Jellyfin's container documentation, trimmed to what a first install needs:
services:
  jellyfin:
    image: jellyfin/jellyfin
    container_name: jellyfin
    user: 1000:1000
    ports:
      - 8096:8096/tcp
      - 7359:7359/udp
    volumes:
      - /path/to/config:/config
      - /path/to/cache:/cache
      - type: bind
        source: /path/to/media
        target: /media
restart: 'unless-stopped'/configholds your users, settings and library database. Back this folder up./cacheholds images and transcoding scratch files, and can be rebuilt./mediais your library. Addread_only: trueunder it if you want to guarantee Jellyfin never changes your files, and add more bind mounts (/media2) for other drives.- Port 7359/udp only helps apps find the server on your network; you can drop it if you do not need discovery.
Prefer a single command? The same container with docker run:
docker run -d --name jellyfin --user 1000:1000 \
  -p 8096:8096/tcp -p 7359:7359/udp \
  --volume /path/to/config:/config \
  --volume /path/to/cache:/cache \
  --mount type=bind,source=/path/to/media,target=/media \
  --restart=unless-stopped jellyfin/jellyfin
Turn on hardware transcoding
When a device cannot play a file directly, Jellyfin converts it on the fly. A graphics chip does this far more efficiently than the CPU, and in Jellyfin it costs nothing extra. The project supports Intel Quick Sync and VA-API, NVIDIA NVENC, AMD AMF and VA-API, Apple VideoToolbox (macOS only) and Rockchip (Linux only).
For Intel or AMD graphics on Linux, which covers most NAS boxes and mini PCs, pass the render device into the container. Add these lines under jellyfin: in your compose file:
    group_add:
      - '122'          # your render group id: getent group render | cut -d: -f3
    devices:
      - /dev/dri/renderD128:/dev/dri/renderD128
Run docker compose up -d again, then enable QSV or VA-API in the dashboard's transcoding settings and untick any codecs your chip cannot handle. NVIDIA cards need the NVIDIA container toolkit instead; follow the NVIDIA page in Jellyfin's hardware acceleration docs.
Keep Jellyfin updated
Back up your config folder, then run docker compose pull followed by docker compose up -d. Before a major upgrade, read the release notes: Jellyfin 12, released in September 2026, requires being on 10.10.7 or any 10.11 release first, asks you to remove third-party plugins before upgrading, and needs a full library scan afterward.
Next steps: HTTPS, then your TV
Right now your server answers on a plain http:// address inside your home. That works in a browser on the same network, but not away from home, and apps on Apple TV, iPhone and iPad refuse it. Give it a real HTTPS address with a reverse proxy such as Caddy; our Jellyfin HTTPS and remote access guide uses the same Docker host. The setup wizard's advice applies too: leave automatic port mapping off and forward only the ports your proxy needs.
Then put it on the big screen. Media Center is a client for the server you just built: it plays Jellyfin, and a Plex server too if you run one, on Apple TV, iPhone, iPad, Android phones and tablets, and Android TV and Google TV, with a profile for each person in your household. Follow how to watch Jellyfin on Apple TV or how to watch Jellyfin on Android TV.